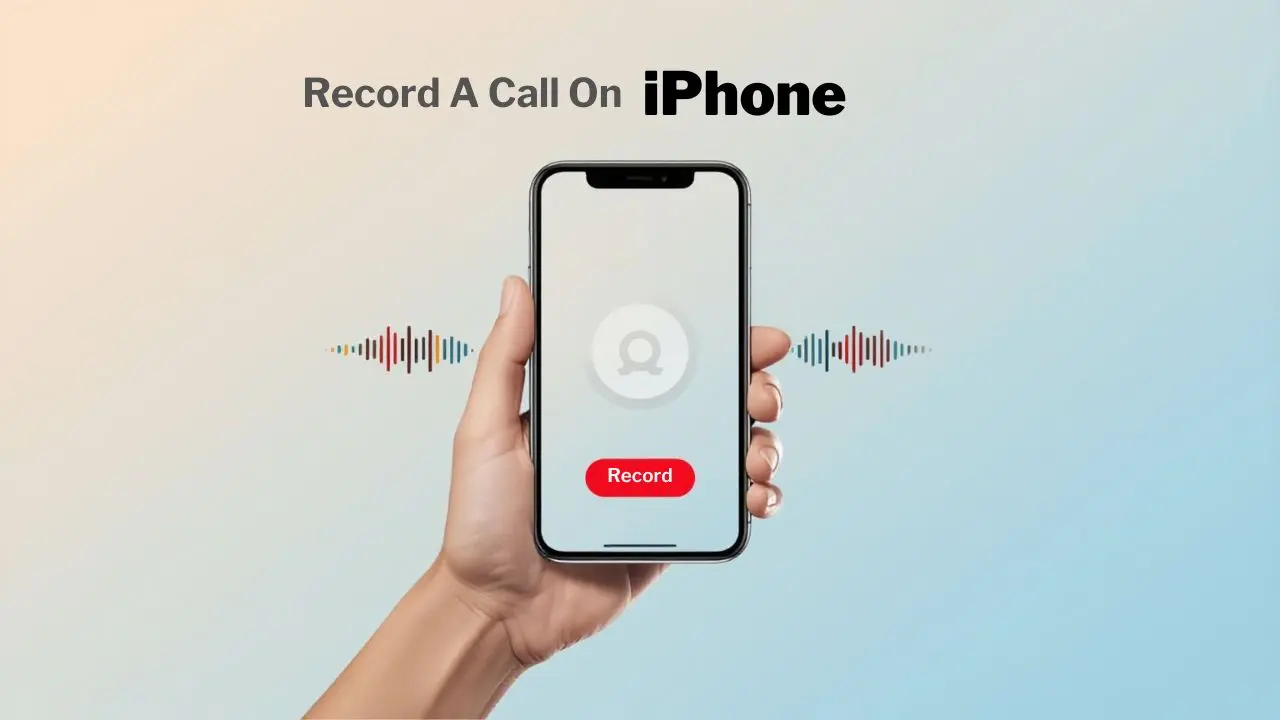
I want to start with something most guides on this topic get wrong. For years, the honest answer to “how do I record a call on my iPhone” was “you can’t, not natively, and every workaround is a compromise.” That changed with iOS 18.1, and it changed again, more meaningfully, with iOS 26. Apple finally built call recording directly into the Phone app, complete with automatic transcription and AI-generated summaries that land straight in Notes. If you’ve been recommended a clunky third-party app or told to buy a separate recorder, that advice is now outdated for a meaningful share of iPhone users. For a meaningful share of others, though, it’s still completely irrelevant, because Apple has not made this feature available everywhere, and if you’re reading this from Nigeria, South Africa, Egypt, or several other African and Middle Eastern markets, that distinction matters immediately.
This guide walks you through exactly how Apple’s built-in call recording works where it’s available, what to do if you’re in one of the regions where it isn’t, the legal reality you genuinely need to understand before recording anyone, and the third-party and external alternatives that remain the only option for a large number of readers. I’ll also cover where your recordings actually end up, how to troubleshoot when something isn’t working, and the best practices that keep you on the right side of both the law and basic decency toward whoever’s on the other end of the call.
Is It Legal to Record Phone Calls on Your iPhone?
This isn’t optional reading. Get this part right before you touch a single recording feature.
Phone call recording laws vary significantly by country, state, and region, but they generally fall into two categories. One-party consent means that only one person on the call, typically you, needs to agree to the recording. Two-party (or all-party) consent means everyone on the call must explicitly agree before recording can legally proceed. In most US states, only one party needs to consent, but a meaningful handful of states, including California, Florida, and Illinois, require all parties to consent, and recording without that consent can carry real legal consequences.
This is precisely why Apple built a mandatory, unskippable consent notification directly into its native recording feature, and why several reputable third-party apps do the same: when you start a recording, the other party automatically hears an announcement that the call is being recorded, with no way for you to disable or skip it. Apple’s implementation reflects a broader principle worth internalizing, regardless of which method you use: recording someone without their knowledge isn’t just a legal risk in two-party-consent regions; it’s a trust problem everywhere, even where it’s technically permitted.
The Practical Rule to Live By
Tell the other person you’re recording and get a clear verbal acknowledgment before continuing, even if your local law doesn’t strictly require it. Even in one-party consent regions, where you’d be legally covered either way, transparency avoids later disputes and keeps the conversation honest.
What You Need Before Recording a Phone Call on iPhone
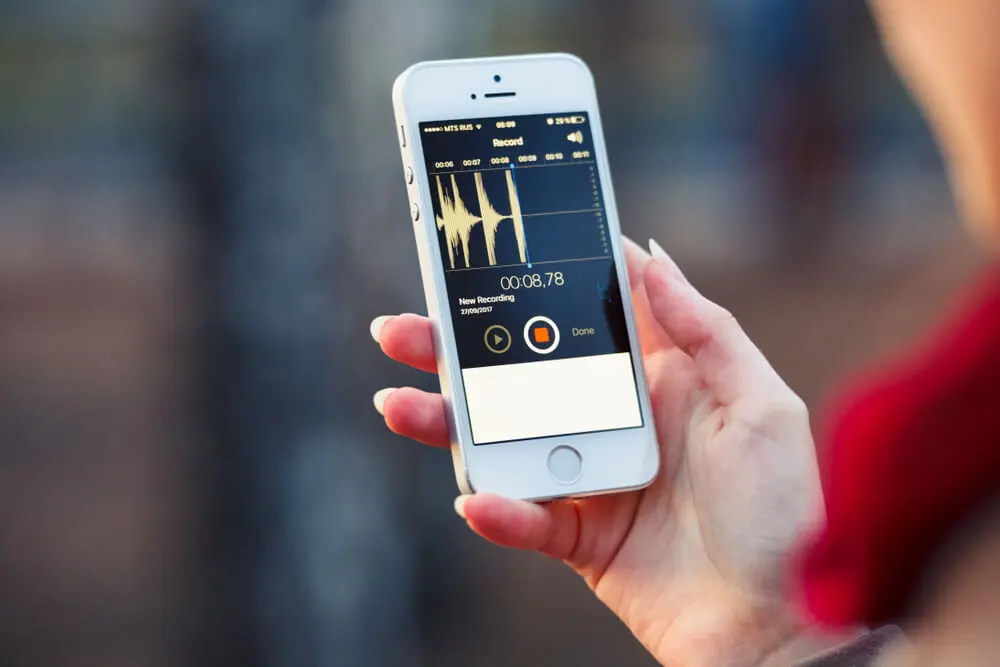
Before choosing a method, confirm these basics. Skipping this step is the most common reason recording attempts fail partway through.
- Check your iPhone model and iOS version: Apple’s native call recording requires iOS 18.1 or later, and on the hardware side, it’s available on iPhone XR and newer models. If you’re on an older device or haven’t updated in a while, the built-in option simply won’t appear, regardless of where you live.
- Confirm your region and language are supported: This is the single most important prerequisite this guide can give you, and it’s the detail most other articles on this topic skip entirely. Apple’s official documentation explicitly states that call recording is not currently available in Azerbaijan, Bahrain, Egypt, the European Union, Iran, Iraq, Jordan, Kuwait, Morocco, Nigeria, Oman, Pakistan, Qatar, Russia, Saudi Arabia, South Africa, Turkey, the United Arab Emirates, and Yemen. If you’re reading this from one of these markets, the built-in method covered in the next section will not work for you; skip directly to the third-party or external device methods further down this guide.
- Free up storage space: Call recordings, especially longer ones, can consume valuable storage over time. Check Settings → General → iPhone Storage if you’re not sure how much room you have.
- Enable microphone access where required: Go to Settings → Privacy & Security → Microphone and confirm access is granted for any third-party recording app you plan to use.
- Have a stable connection for app-based methods: Many third-party recording apps rely on call merging or cloud-based processing, both of which require a consistent data or Wi-Fi connection to function reliably.
How to Record a Phone Call Using Apple’s Built-In Feature (Where Available)
If your region and device are supported, this is unambiguously the cleanest, free, and most reliable method available, and it now does considerably more than just capture audio.
Step 1: Open the Phone app and make or answer a call as you normally would.
Step 2: During the call, tap the Audio Wave icon in the top-left corner of your call screen. This is the actual current activation point, not the More (•••) menu that older guides sometimes describe.
Step 3: Wait for the automatic, unskippable announcement: “This call will be recorded.” This applies to both you and the other party and cannot be disabled; it’s Apple’s built-in consent mechanism, by design.
Step 4: Continue your conversation normally. The recording runs in the background for the remainder of the call.
Step 5: End the call. The recording stops automatically the moment the call ends. There’s no separate “stop recording” action needed.
Step 6: Open the Notes app and navigate to the Call Recordings folder. Your audio recording appears there automatically, typically at the top of the folder.
The Transcription and Summary Layer: What’s New in iOS 26
This is where the feature has genuinely advanced since its debut in iOS 18.1. If your region and language are supported, iOS 26 not only saves the audio but also transcribes the call automatically.
Open the recording inside Notes, tap Show Transcript and Summary, and after a brief processing period, you’ll see the full conversation broken down by speaker, along with an AI-generated summary of the key points. This means you can search for specific words or phrases in a call without replaying the entire audio, which is genuinely useful if you’re trying to find the exact moment someone agreed to a price, a date, or a commitment.
An honest caveat worth flagging directly: transcripts aren’t perfectly accurate, particularly with strong accents, background noise, or fast cross-talk. Treat the transcript as a fast navigation and search tool, not a verbatim legal record. Always cross-reference against the actual audio for anything that matters.
How to Record a Phone Call Using Third-Party Apps
If you’re in a region where Apple’s native feature isn’t available (which includes Nigeria, South Africa, and most of the African and Middle Eastern markets, this guide’s audience is likely to be reading from) third-party apps remain the most practical solution. Most of these apps work by creating a three-way call between you, the person you’re speaking with, and the app’s recording line, since App Store restrictions prevent third-party apps from directly tapping into the Phone app’s audio stream as Apple’s native feature can.
Step 1: Download a reputable, well-reviewed call recording app from the App Store.
Step 2: Open the app and complete any required account setup.
Step 3: Start a new recording session inside the app.
Step 4: The app will prompt you to call a dedicated recording line first.
Step 5: Call the person you actually want to record, then tap Merge Calls once both lines are connected.
Step 6: Speak normally; the app captures the merged audio throughout the call.
Step 7: End the call when finished.
Step 8: Open the app to access, rename, or export your recording.
Several current apps in this category now include their own AI transcription and summary layers on top of the raw recording, useful if you regularly record calls for work and want searchable text alongside the audio, similar to what Apple’s native feature offers in supported regions.
The Trade-Offs
These apps work in most regions regardless of Apple’s native availability list, and audio quality is generally good. The downsides are that most require an ongoing subscription, the call-merging process adds a small amount of setup friction to every call, and a stable internet connection is typically required for the merge and any cloud-based processing to work properly. For business calls, interviews, and any recurring recording needs, this remains a solid, dependable method.
How to Record a Phone Call Using an External Device
If you want a method that works absolutely everywhere, requires no app subscription, and sidesteps both regional restrictions and App Store limitations entirely, recording with a second physical device is the most universally reliable fallback, even if it’s the least elegant.
Step 1: Answer the call on your iPhone.
Step 2: Tap Speaker to enable speakerphone mode.
Step 3: On a second device (another phone, a tablet, or a dedicated voice recorder), open a voice recording app.
Step 4: Place the recording device near your iPhone’s speaker.
Step 5: Start recording on the second device.
Step 6: Continue your conversation as normal.
Step 7: Stop the recording when the call ends, then save the file and label it clearly.
This method makes the most sense when built-in recording isn’t available in your region, you don’t want to commit to a paid app or subscription, or you need a quick, zero-setup solution for a single important call you didn’t plan ahead for. Audio quality depends heavily on your environment; a quiet room yields results perfectly usable for most purposes, while background noise or a tinny speakerphone can noticeably degrade the quality of what you capture.
Comparison: iPhone Call Recording Methods

Method | Availability | Ease of Use | Audio Quality | Transcription | Cost |
Built-In (iOS 18.1+) | Select regions only (excludes Nigeria, South Africa, the EU, and others) | Very easy | High | ✅ Automatic (supported languages) | Free |
Third-Party Apps | Works in most regions | Moderate (call-merge setup) | High | ⚠️ Varies by app | Usually subscription-based |
External Device | Works everywhere | Easy | Medium (environment-dependent) | ❌ Not built-in | Free |
No single method is universally best; your region, device, and how often you need to record should drive your choice.
Where Your Recorded Phone Calls Are Saved
- Built-in recordings are automatically saved to the Call Recordings folder in the Notes app, with the transcript and AI summary attached to the same entry once processing is complete.
- Third-party app recordings are stored within the app itself, typically with options to export the audio file or share it directly to cloud storage, email, or another app.
- External device recordings are saved in the location where the second device’s voice recording app stores its files. Confirm this location before you need to retrieve something important, since recovery options vary significantly between apps and devices.
Always confirm exactly where a recording is stored before deleting an app, clearing storage, or resetting a device; recordings stored in a third-party app’s internal storage are often unrecoverable once that app is removed.
Troubleshooting Call Recording Issues
Work through these in order if recording isn’t working as expected.
- Confirm your region actually supports the feature. This is the first thing to check, and it’s the step most people skip. Cross-reference your country against Apple’s published feature availability list before assuming something is broken. If you’re in Nigeria, South Africa, or any other excluded region, the built-in option will never appear, no matter how correctly you’ve configured everything else.
- Check that you’re on iOS 18.1 or later, on a supported device. Settings → General → Software Update will confirm your current version; iPhone XR and newer is the hardware baseline.
- Confirm microphone access is enabled for any third-party app you’re using, under Settings → Privacy & Security → Microphone.
- Check available storage space, particularly if you’re planning to record a long call. Go to Settings → General → iPhone Storage.
- Restart your iPhone if the recording option has disappeared or the app is behaving inconsistently. This resolves a surprising number of stuck recording sessions.
- Download the relevant language pack if transcription isn’t appearing specifically. Go to Settings → General → Language & Region to confirm your transcription language is installed and supported.
- Test with a short, low-stakes call before recording anything genuinely important. This applies to every method in this guide. A 30-second test call to a friend will reveal any setup issues before you rely on the recording for something that actually matters.
If your iPhone is behaving unusually beyond just call recording (sluggish performance, dropped features, inconsistent background processing), it’s worth checking whether overheating is a contributing factor, since excess heat can cause iOS to throttle background processes, which can interfere with recording and transcription. Similarly, if call quality or connectivity seems unstable during the call itself, understanding what SOS means on your iPhone is worth knowing, since a phone showing SOS has lost its normal carrier connection, and that instability can directly affect recording reliability for any method that depends on a live network connection.
Best Practices for Recording Calls on iPhone
A few habits keep this feature working for you rather than creating problems down the line.
- Always inform the other person before recording, even if your local law does not strictly require it. Apple’s built-in announcement does this automatically for you; if you’re using a third-party app or external device, make the verbal disclosure yourself every time.
- Test your chosen method ahead of any genuinely important call, for instance, an interview, a contract negotiation, or a conversation you’ll need to reference precisely later. Don’t discover a setup problem at the moment that matters.
- Label recordings clearly and immediately rather than relying on your memory later. A file named with the date, the person’s name, and a short topic note saves real frustration when you’re searching through dozens of recordings months later.
- Secure recordings containing sensitive information. A recorded business negotiation, legal conversation, or personal matter deserves the same security thinking you’d apply to any sensitive document. Consider whether it needs password protection, restricted sharing, or eventual deletion once its purpose has been served.
- Delete recordings you no longer need. Beyond simply freeing up storage, this is good privacy hygiene. There’s no reason to retain a recording indefinitely once whatever you needed it for has been resolved. If you’re already thinking carefully about transparency and consent when sharing information from your iPhone, the same mindset naturally extends to how you handle location sharing responsibly. Both come down to the same underlying principle of giving the people you’re communicating with real visibility into what you’re doing with their information.
FAQs
No. Apple’s official feature availability documentation explicitly excludes Nigeria and South Africa from native call recording support, as well as several other African and Middle Eastern markets, such as Egypt and Morocco. If you’re in one of these regions, you’ll need to use a third-party recording app or an external device instead; both options are covered in detail in this guide.
You need iOS 18.1 or later, running on an iPhone XR or newer. The feature first arrived with iOS 18.1 in October 2024 and was significantly expanded with iOS 26, which added automatic transcription, AI-generated call summaries, and tighter integration with the Notes app, though transcription specifically depends on your language and region being supported.
With Apple’s built-in feature, yes, always, an unskippable automated announcement plays for both parties the moment recording begins, with no way to disable it. This is a deliberate design choice reflecting both legal consent requirements and Apple’s broader privacy positioning. Reputable third-party apps generally include similar notification mechanisms, though the specifics vary by app.
It depends entirely on where you and the other party are located. In one-party consent regions, most US states, for example, require that you consent, making it technically legal to record without disclosure. In two-party or all-party consent regions, including California, Florida, and Illinois within the US, every participant must consent, and recording without that consent can carry real legal consequences. Regardless of the strict legal requirements where you live, disclosing that you’re recording is the safer and more transparent practice in every case.
Generally strong under good conditions, but not perfect; accuracy drops noticeably with strong accents, significant background noise, or fast, overlapping speech among multiple people. Treat the transcript as a powerful tool for quickly searching and navigating a recording rather than as a guaranteed verbatim record, and cross-reference the actual audio for anything where precise wording genuinely matters.
Recordings saved through Apple’s built-in feature live in the Notes app’s Call Recordings folder. Deleting Notes itself isn’t possible, since it’s a core system app, but a full device reset without a proper backup would remove them along with everything else. Recordings made through third-party apps are typically stored within that app’s own storage, meaning deleting the app can make those recordings unrecoverable unless you’ve separately exported or backed them up beforehand.
Conclusion
Recording phone calls on an iPhone has genuinely improved for the portion of the world where Apple has chosen to make the feature available. Where it works, it’s now a polished, free, well-integrated tool that goes meaningfully beyond simple audio capture to include automatic transcription and AI summarization, turning a recorded call into something you can actually search and reference later, rather than just a long audio file you’d need to sit through again. Where it doesn’t work, and that list notably includes Nigeria, South Africa, and most of the African continent, third-party apps and external device recording remain genuinely solid, dependable fallbacks that have been doing this job reliably for years.
What hasn’t changed, and what shouldn’t change regardless of which method you use, is the legal and ethical foundation underneath all of it: know your local consent laws, default to telling the person you’re recording even when you’re not strictly required to, and treat recordings, once you have them, with the same care you’d want applied to a conversation involving you. The technology keeps getting better at the mechanics. The judgment about when and how to use it responsibly is still entirely yours.
There’s always more to learn about getting the most out of your iPhone, wherever in the world you’re using it. Visit YourTechCompass.com for more practical, accurate, up-to-date guides on the tech you rely on every day.